Accessibility in 5
We are excited to present our Accessibility in 5 monthly series to promote an accessible culture at UF. Disabilities can be invisible or visible, but when we design with accessibility in mind, we are doing the right thing and providing an equivalent experience for people with disabilities at the University of Florida. Each video will be short and informative and feature a different accessibility skill that you can incorporate into your content design. By helping you create a more accessible environment, we are contributing to our shared goal of enabling student success.

Common PDF tags
Take the next step in PDF remediation by learning about tagging content. Review, rearrange, and edit PDF tags to ensure that your content is readable by people using assistive technology.
[00:00] Welcome to Accessibility in 5, a series from UFIT where we explore a quick tip on making your content more accessible in 5 minutes or less. I'm Laura, and today's topic is common PDF tags.
[00:16] We've spoken before about PDFs, what they need to be accessible for people who use assistive technology, and why it's best to limit their use. We've also given you a demonstration of using Adobe Acrobat Pro to remediate a PDF and make it accessible. Now, we want to expand on that by talking a little bit about common tags and how to use them. Let's have a quick review before we begin.
[00:41] For a PDF to be usable for everyone, it needs detailed and accurate metadata so that assistive technology can interpret it correctly. This starts with setting a language and title in the document properties. And making sure that the text is selectable.
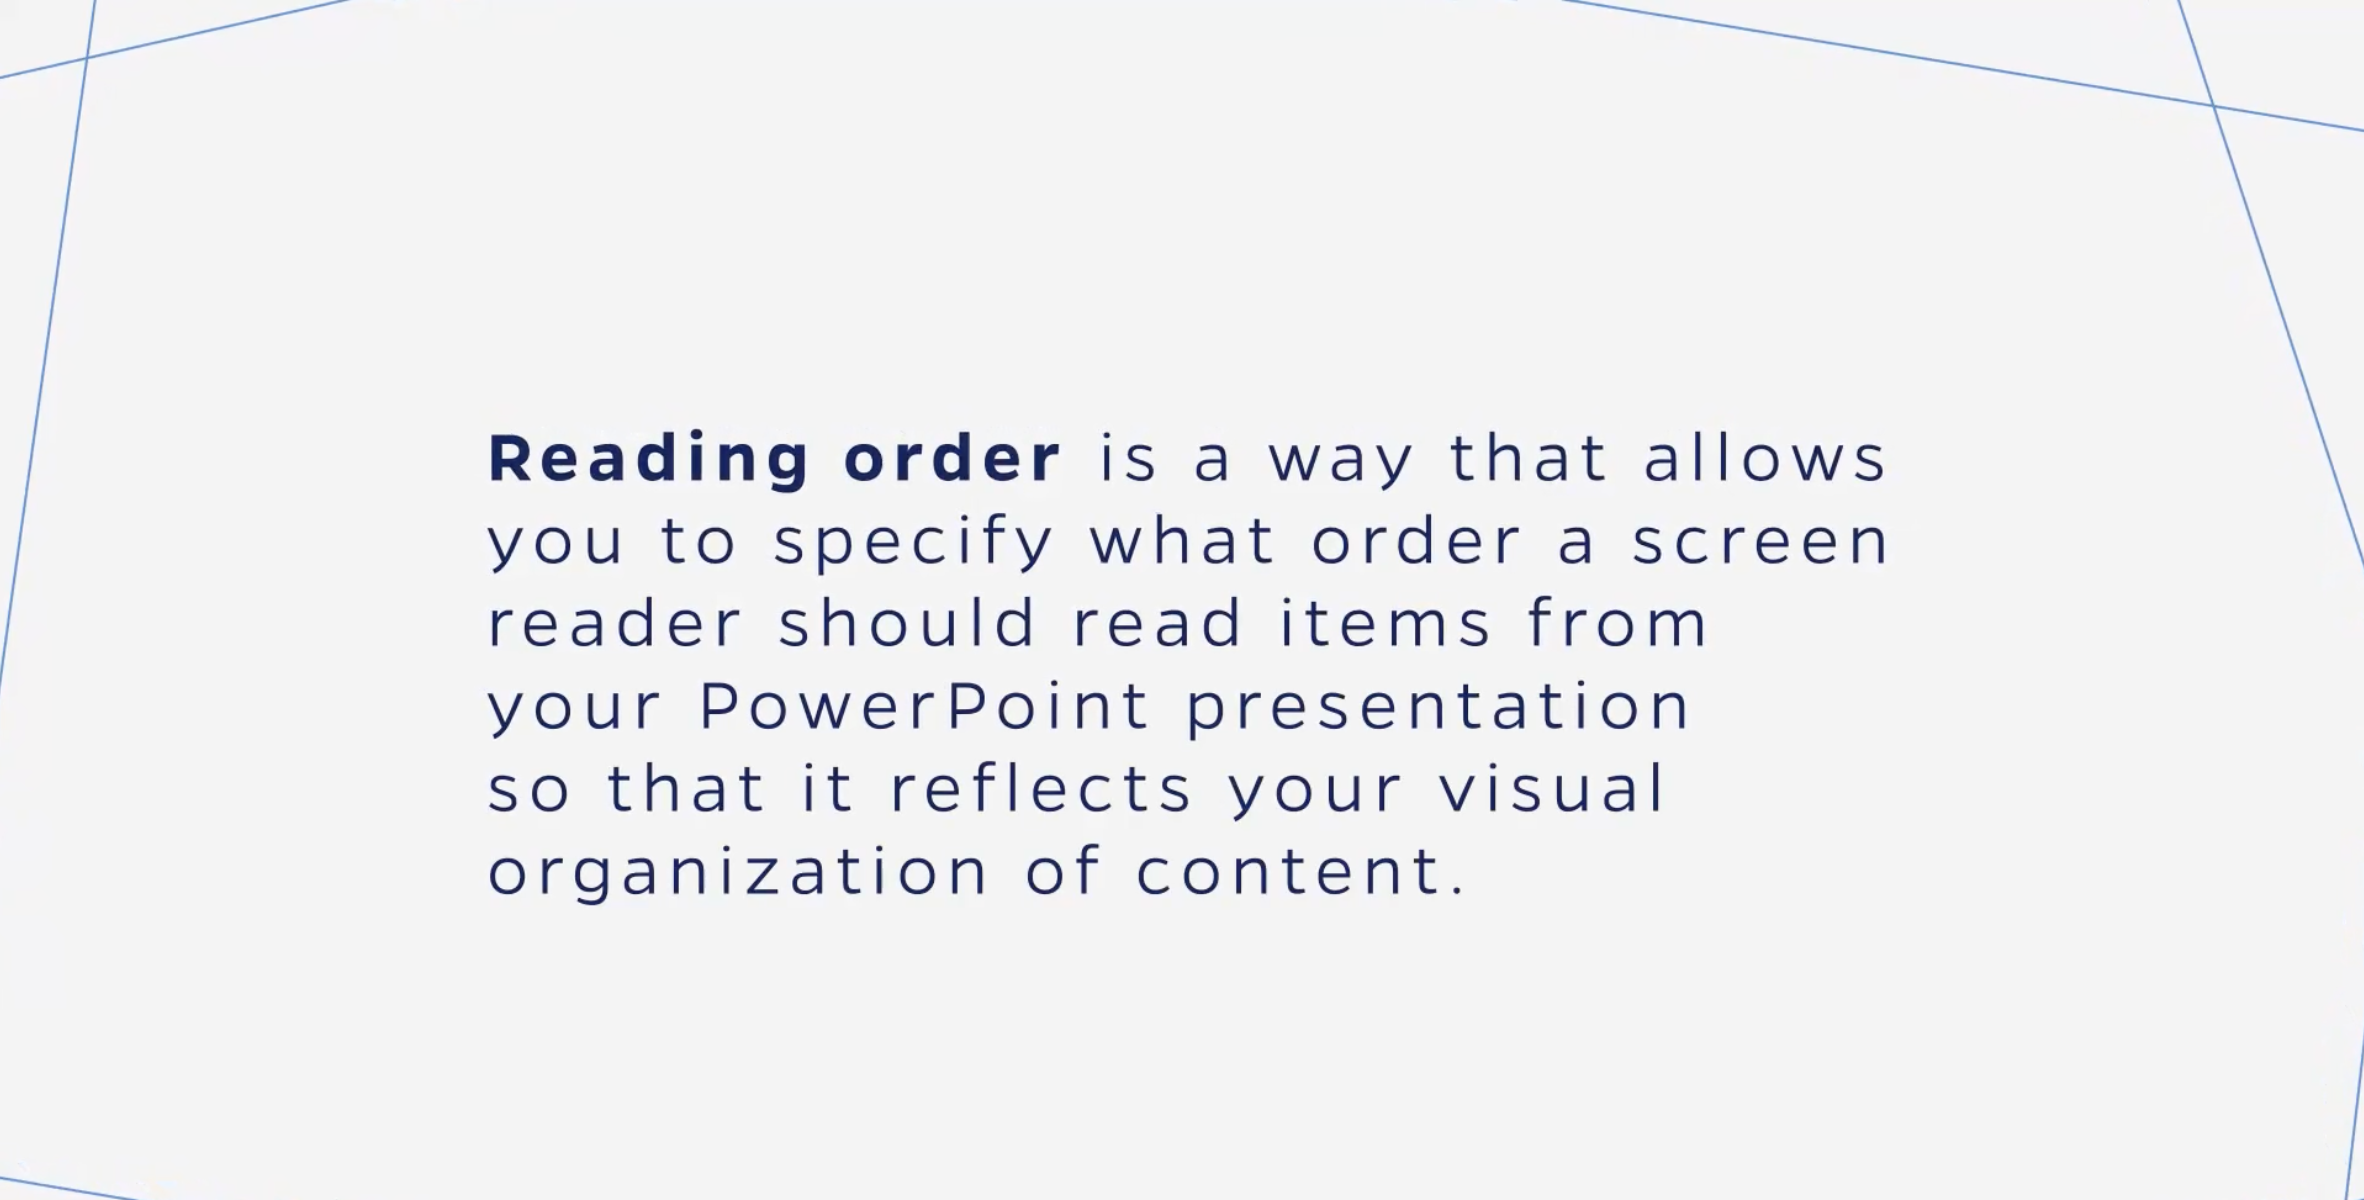
[00:58] But that's only the beginning. Someone creating or remediating a PDF then needs to specify what type of content each part of the document is and what order it occurs in. This is called tagging, and it allows somebody who's using a screen reader or other assistive technology to have an accurate understanding of the document.
[01:19] To check the tags in a PDF, I start by opening Adobe Acrobat Pro. And finding prepare for accessibility in the tools. Then I run the accessibility checker because that can help me identify whether I need to do other things like run optical character recognition or set a title before I dig into the tags. If the document is not already tagged, I might run auto tagging so that I have a starting place. Once I'm ready to look at the tags, I open the tag panel with the button that looks like an analog tag. You know, like a price tag when you buy clothes. If you don't see that option, right click and then make sure there's a check mark next to where it says accessibility tags.
[02:02] The tag panel looks overwhelming at first, but it's incredibly helpful because it shows you what type of content each chunk of the document is tagged as, how they're nested, and what order they're in. If you expand the tags, you can even see how the technology has broken the content down. Sometimes it looks like it doesn't make sense because a word will be divided between two boxes. but that does not impact how assistive technology will read it.
[02:30] As you use the down arrow on your keyboard to navigate through the tag panel, it will highlight what content the tag is associated with. Once you're in the tagging tree, use the keyboard to go through the tags and watch what content gets highlighted. Make sure the content is in the correct order and that the content is tagged correctly. If it is not in the correct order, drag and drop it into the correct place. If you see content with incorrect tags, double click on the tag and type in the correct one. Each tag is text enclosed with carets. It is case sensitive, so pay attention to whether a tag uses only capital letters, like the tag that says TOC in all caps that designates a table of contents, or if it starts with an uppercase letter and then changes to lowercase, Like the index tag, which is the word index.
[03:28] Some tags are to designate container elements, which just separate documents into relevant pieces. These include document, which is the word document, uppercase D, the rest lowercase, section, which is capital S -E -C -T, lowercase, and division, capital D, lowercase I, lowercase V. A heading will always have a tag that is a capital H and a number. The numbers refer to the level of the heading. So you might have several H2s in a document, just for example. As you add headings that are more specific, the number gets higher, but you don't want to skip a level. When a new section starts that's more general, you can go back up to the appropriate heading.
[04:18] Most normal text should be a paragraph tag, which is just a capital P. You might also see figure for images and formula for math formulas. This is the word figure or the word formula with a capital F in the carets. If you use these tags, you probably need alternative text. Another common tag you might see in the body of text is link, the word link with a capital L. Then a list will start with a capital L tag, just the letter L. And then each item will have a tag. And then each item will have a list item tag, which is capital L, capital I.
[04:58] Tables can be a little bit complicated, but you will probably see tags like table with a capital T, with a table header and table body nested under it. Table header is capital T and then head with only the H capitalized. And table body is capital T body with only the B capitalized. Then rows are marked with capital L and then capital T. Capital R. And individual cells will be marked with capital T, capital H in the header row and capital T, capital D for a normal data cell. Finally, the artifact tag, the word artifact with a capital A, is used to designate content that should not be voiced by a screen reader, such as a decorative image.
[05:46] There are other tags, and I encourage you to check out LinkedIn Learning PDF accessibility trainings for a more thorough understanding. Thanks for watching Accessibility in 5. You can find this video as well as previous ones archived in the resources section of the CITT website at citt.it.ufl.edu. Tune in next time to learn more fun accessibility tips.